
NextJS
How to Set Up Queue Jobs in NextJS Using BullMQ
In this guide, we will walk through how to set up queue jobs in NextJS using BullMQ, a powerful and scalable Redis-based queue library. This approach is
Updated March 24, 2025
5 min read
In this guide, we will walk through how to set up queue jobs in NextJS using BullMQ, a powerful and scalable Redis-based queue library. This approach is useful for handling background jobs like sending notifications or processing orders without blocking the main thread.
We previously covered how to set up Next.js cron jobs without Vercel using BullMQ, so this article builds upon that by showing how to leverage the same library for queue jobs. By using BullMQ, you can efficiently handle background processes without the need for additional packages or dependencies.
Prerequisites
Make sure you have the same prerequisites as mentioned in our previous article on cron jobs without Vercel:
- Redis installed and running locally or on a remote server.
- Next.js set up in your project.
- The BullMQ package installed.
Folder Structure
To keep things organized, we’ll structure our files as follows:
/server
├── redis.ts
├── /queues
│ ├── index.ts
│ ├── config.ts
├── /jobs
├── processOrder.job.ts
├── processUserNotification.job.tsThis structure helps in separating the Redis connection, job configurations, and the actual job processing logic.
Step 1: Redis Configuration
First, we’ll set up the Redis connection using the ioredis package.
import Redis from 'ioredis';
export const redisConnection = new Redis('redis://127.0.0.1:6379', {
maxRetriesPerRequest: null,
enableReadyCheck: false,
});This connects your Next.js app to the Redis instance running locally at 127.0.0.1:6379. You can update the Redis URL based on your environment.
Step 2: Setting Up the Queue
We will dynamically import all job files from the /jobs folder:
import { readdirSync } from 'fs';
import { join } from 'path';
const jobsPath = join(__dirname, 'jobs');
const jobFiles = readdirSync(jobsPath);
jobFiles.forEach(file => {
import(join(jobsPath, file));
});This ensures that all job processors are automatically loaded when the app starts.
Step 3: Queue Configurations
Here, we define the default job options, such as retry attempts and backoff strategies:
import { DefaultJobOptions } from "bullmq";
export const defaultQueueConfig: DefaultJobOptions = {
attempts: 3,
backoff: {
type: 'exponential',
delay: 1000,
},
};This setup retries failed jobs up to 3 times with an exponential backoff.
Step 4: Defining Jobs
Now, let’s define two job processors: one for processing orders and one for sending user notifications.
import { redisConnection } from "@/server/redis";
import { Queue, Worker } from "bullmq";
import { defaultQueueConfig } from "../config";
const queueName = 'processOrder';
interface QueueInterface {
orderId: number;
title: string;
amount: number;
}
const processOrderQueue = new Queue(queueName, {
connection: redisConnection,
defaultJobOptions: {
...defaultQueueConfig,
delay: 500,
}
});
new Worker(queueName, async (job) => {
const data: QueueInterface = job.data;
console.log('Processed order:', data);
}, {
connection: redisConnection
});
export const addToProcessOrderQueue = (data: QueueInterface) => {
return processOrderQueue.add(queueName, data);
};This worker processes order-related jobs. It listens for incoming jobs, processes them, and logs the result.
import { redisConnection } from "@/server/redis";
import { Queue, Worker } from "bullmq";
import { defaultQueueConfig } from "../config";
const queueName = 'processUserNotification';
type QueueInterface = {
userId: number;
message: string;
};
const processUserNotificationQueue = new Queue<QueueInterface>(queueName, {
connection: redisConnection,
defaultJobOptions: {
...defaultQueueConfig,
delay: 500,
}
});
new Worker<QueueInterface>(queueName, async (job) => {
const data: QueueInterface = job.data;
console.log('Processed user notification:', data);
}, {
connection: redisConnection
});
export const addToProcessUserNotificationQueue = (data: QueueInterface) => {
return processUserNotificationQueue.add(queueName, data);
};This worker handles sending notifications to users.
Step 5: Triggering Jobs from the Frontend
- We can create a simple UI to trigger these jobs. Here’s how you can do it:
Trigger Job UI
'use client';
import { Button } from '@/components/ui/button';
import { processOrder, processUserNotification } from '@/server/actions/triggerJobs.action';
import React from 'react';
export default function TriggerJob() {
return (
<div className='flex flex-col gap-5 p-3 border-2 border-black border-dashed'>
<Button variant={'destructive'} onClick={() => processOrder().then(res => alert(res.message))}>Process Order</Button>
<Button variant={'destructive'} onClick={() => processUserNotification().then(res => alert(res.message))}>Notify User</Button>
</div>
);
}Backend Logic to Trigger Jobs
'use server';
import { addToProcessOrderQueue } from "../queues/jobs/processOrder.job";
import { addToProcessUserNotificationQueue } from "../queues/jobs/processUserNotification.job";
export const processOrder = async () => {
await addToProcessOrderQueue({
orderId: 1,
title: 'Iphone 16',
amount: 10000
});
return {
success: true,
message: 'Order processed'
};
};
export const processUserNotification = async () => {
await addToProcessUserNotificationQueue({
message: 'Test notification',
userId: 1
});
return {
success: true,
message: 'User notified'
};
};Using the Trigger in the Main page
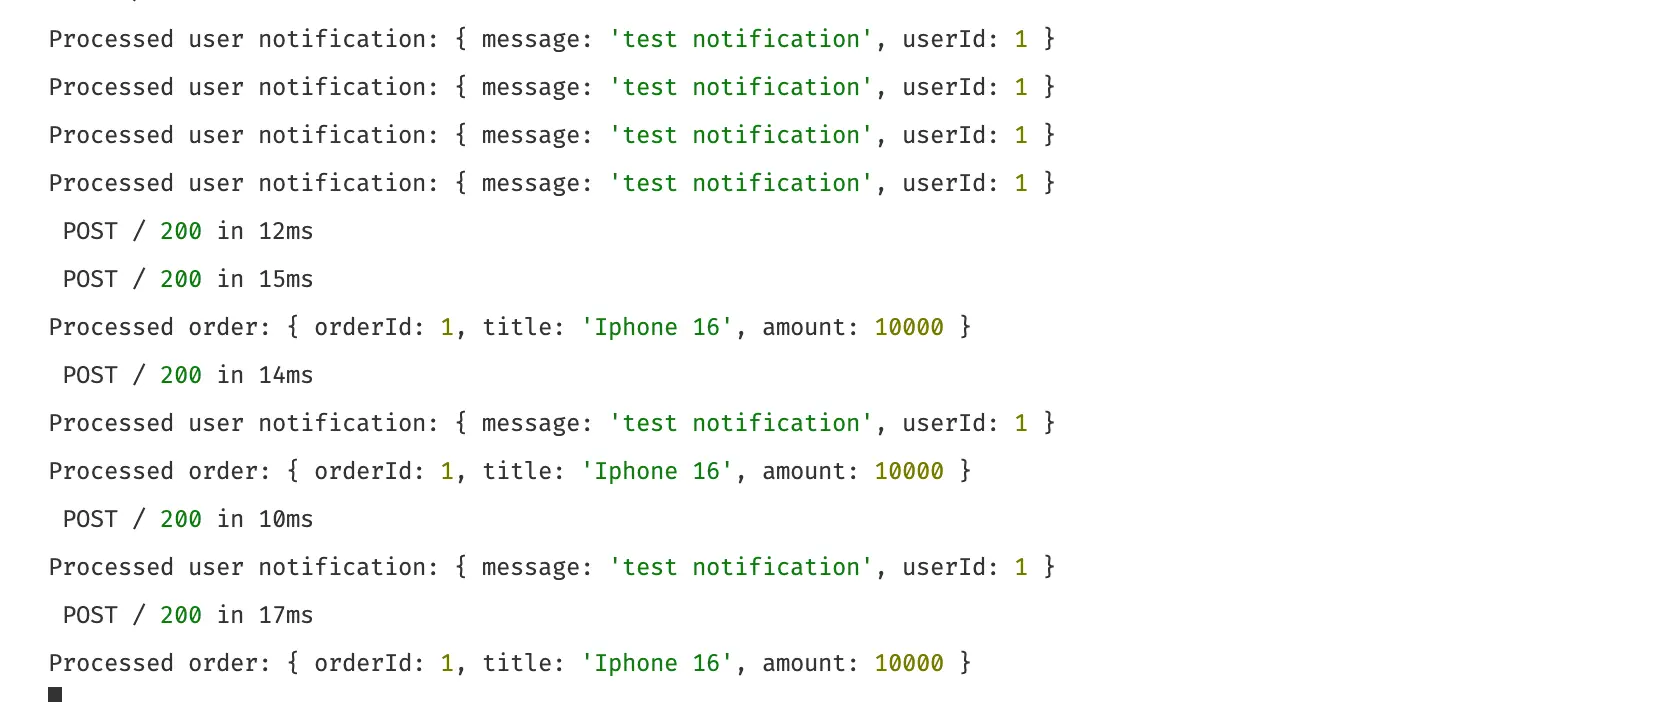
- To test the functionality, simply include the
TriggerJobcomponent in your main layout or any page:
import TriggerJob from '@/server/actions/TriggerJob';
function MainPage() {
return (
<div>
<TriggerJob />
</div>
);
}
Conclusion
By following this guide, you can set up queue jobs in Next.js using BullMQ. This approach is flexible and can be expanded to handle various background tasks, from processing orders to sending notifications. Feel free to adjust the job configurations and queue logic to suit your specific needs.
For the full source code of this implementation, you can check out the following repository: Next.js Role and Permission with Queue Jobs.
For more advanced BullMQ features like job prioritization, rate limiting, or delayed jobs, check out the BullMQ documentation.